Now that warmer days are here, my family and I love spending time outside in the evenings. I love that our home has two outdoor spaces to sit, relax and enjoy the view- a front porch and a back patio, both of which have things in common. Pretty nature views, ample seating, and flowers! I just love the look of a pretty container full of blooming flowers, so when I had the opportunity to review Nature Hills Instant Wall Planter, I said yes. Read on to discover this charming wall planter idea for porch or patio.
Charming Wall Planter!
My thanks to
Nature Hills for the complimentary Instant Wall Planter used in today’s post.
I’m using affiliate links in today’s post and may receive compensation should
you choose to make a purchase. Thank you. All opinions are my own.
About Nature Hills:
 |
| Source: Nature Hills |
According to their website, Nature Hills, an online nursery, was started by two brothers and has grown into
a group of real people with over 20 years’ experience offering really good
plants. They want to help us grow everything from flowers, to shrubs, to beautiful
lawns and offer a vast array of plant and home and garden accessories options
on their website. Nature Hills has lots of helpful resources as well, like a garden
zone checker and what to plant by state- which is a perfect way to help select a
plant gift for somebody living out of state!
About The Instant Wall Planter:
I received an 8”X10” wall planter, which was the perfect size for
my space and the plants I’d envisioned in it. I wanted something bushy and trailing
that could withstand a little heat, so I chose Petunia’s. These planters also
come in 5”X7” and 4”X6”, which I think would be perfect for a succulent wall,
which I’d love to do later in the summer after I get my succulent starts going.
How To Grow an Instant Wall Planter Garden:
Nature Hills takes all the guess work out of the equation with their
kit! You can create your own vertical planter easily in one afternoon with their
foolproof kit and instructions. All you need is enough plants and soil to
tightly fill the planter and you are good to go! Here are the steps I took and
suggest for you for wall planter success.
One: Do a little research on Pinterest for wall planter ideas (and
follow me while you there please) or go to Nature Hills and look at their
pretty wall planter ideas. Then decide on the right size for your needs and
place your order. Remember, you’ll need your plants to fit snuggly.
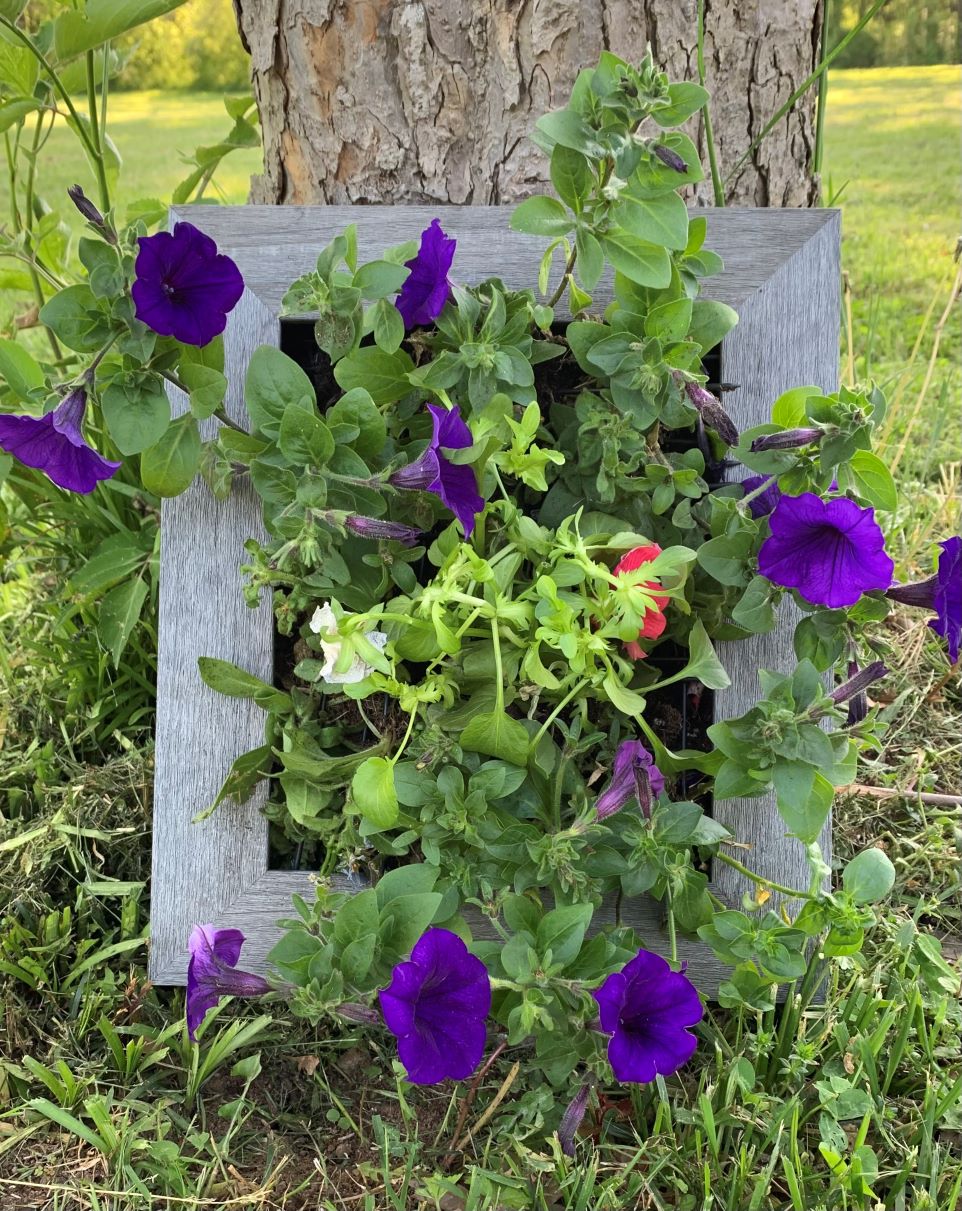
Two: Go plant shopping! I bought an eight pack of purple Petunia’s,
a four pack of coral Petunia’s and a quart of light purple Petunia’s.
Three: When wall planter arrives (Nature Hill ships quickly), open
it, and read all the instructions before you start. They are straight forward,
but you still want to make sure you have it squared away before you add your
plants. Here’s their instructions from their website, so you can see it really
is a simple project.
Planting and Application from Nature Hills:
“The large Instant Wall Planter 8x10 comes with a rustic
decorative frame and has a finished size of 13 3/16" tall by 11 5/8"
wide and 2 3/4" deep. It can be hung on a wall or placed upright on its
easel back. You can even lay it flat on a tabletop, where it will become a
lovable living focal point!
- It couldn't be easier to create and maintain a Succulent wall planter! Simply select enough of your favorite young succulents and Cactus soil and follow the instructions to design, pin, and display.
- Lay your do-it-yourself Instant Wall Planter flat. Next, pop your cute, new plants out of their pot and arrange them to pack the polymer planter box...filling in with extra soil as needed for a nice, tight fit.
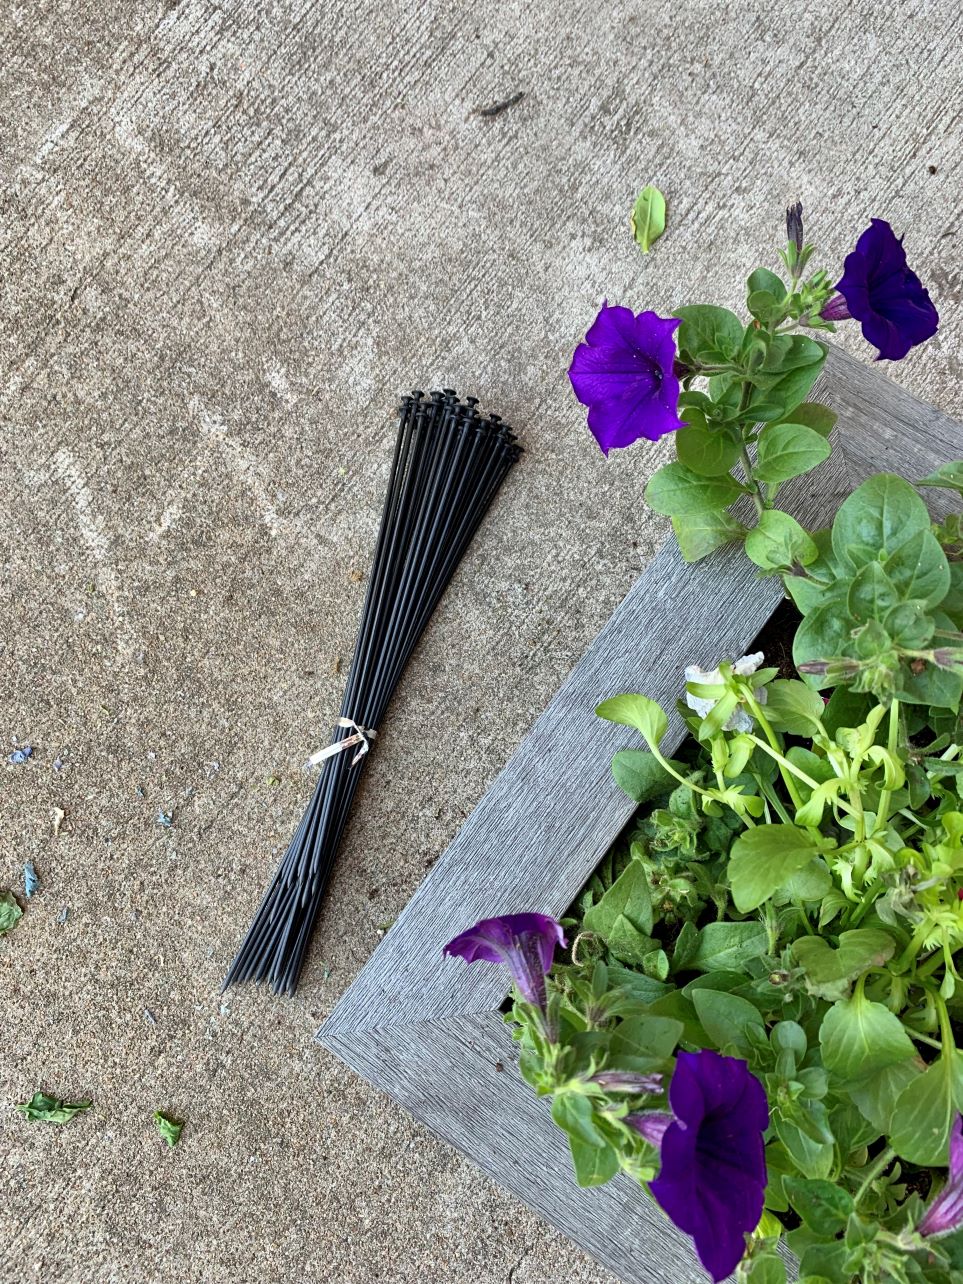
- Once your creation is finished, pin it into place with the included pins to create a root securing grid. Use both the short pins and long pins to snugly secure the plants within the planter box.”
Four: Stand back and marvel at your Instant Wall Planter! The
hardest part for me was deciding where to place it. On the patio? On the porch
wall? Hanging out on my favorite tree? On an outdoor table for a living
centerpiece?
In the end, I went with adding a welcoming bit of charm to my
front porch table. It looks great standing up easel style or laying down. Caring
for the wall planter is simple as well, you can use the built-in water reservoir
at the top by filling it with water and checking soil moisture often. Even a
daily misting is perfect for this wall planter.
My Thoughts:
I love the Instant Wall Planter so much and I think you’ll love it
too! It’s such a fun gardening project, that’s simple yet rewarding. It would
make a perfect gift idea for the garden lover in your life too. I invite you to
shop Nature Hills Instant Wall Planter ideas here.
While you’re there, be sure to look at their hot deals and plants under $25 at
the top of the home page and sign up for their newsletter. It’s full of helpful
and inspiring gardening goodness.
Want more Gardening goodness? Just use the Garden tab here on my blog, and be sure to follow me on Instagram where I share lots of garden and nature pics.
Please share in comments: What plants would you use in this Instant Wall Planter?


Add your comment